|
 Over the Top Kippot! Over the Top Kippot!
 |
| |
| |
Making original kippot is addictive. The sewing doesn't have to take much time. And unexpected fabric choices can mean kippot that are uniquely meaningful, beautiful, or even fun!
And speaking of
unexpected....I certainly never thought I'd ever grow up to make
zillions of 'yarmulke's'. My family attended a
Reform synagogue where, in the 1960s, only visiting grandparents wore
them. I saw them at my New York relatives' weddings, plus my parents brought
pathetic black ones home from funerals. But then, in 1996, when I was already a quilter, my
adult cousin announced decided to become a Bat Mitzvah. I figured I'd whip out a kippah in her favorite colors.
This turned out to be
more difficult than anticipated. I started by disassembling souvenir bar
mitzvah, wedding, and yes, funeral home kippot to try to create a pattern.
I ended up with shmatas that resembled volcanoes and coffee filters more
than hats. After a lot of trial and error, I came up with some
patterns that work. |
|
| |

|
|
| |
Four-Panel Kippot
These are the simplest kippot to make. They're pieced from four
panels, and lined with more sedate Jewish-themed or plain colored
fabric, so they're completely reversible. They're bound with bias, usually
contrasting cotton or lame. For quilted kippot, scroll down. |
|
| |
|
|
| |
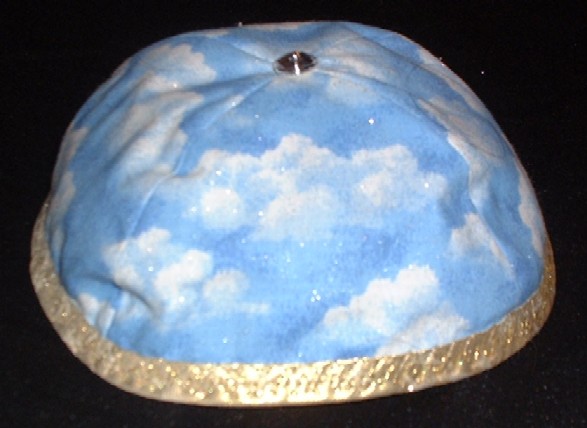
Calm Skies and Sunshine
|
|

Electric Guitars in Space |
|
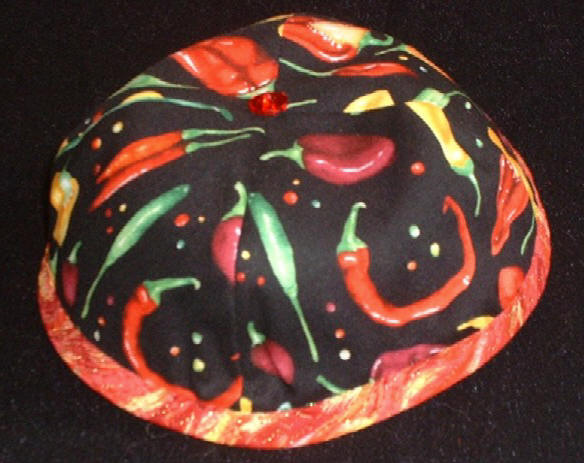
Fire on the tongue, or in the soul.
|
|
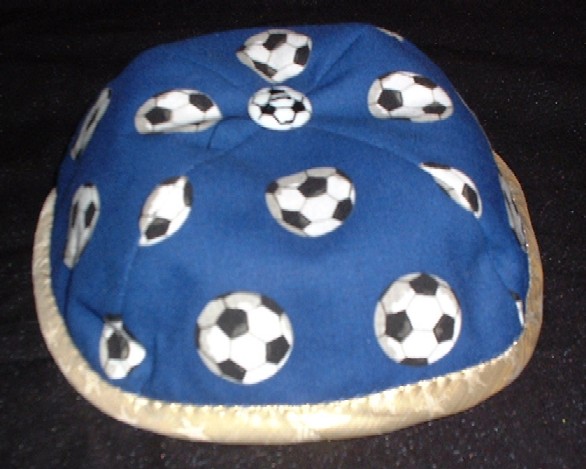
Soccer Balls---with soccer ball button on top! |

Pokemon A big hit as
birthday presents for my son's classmates at his Jewish elementary school. |
|
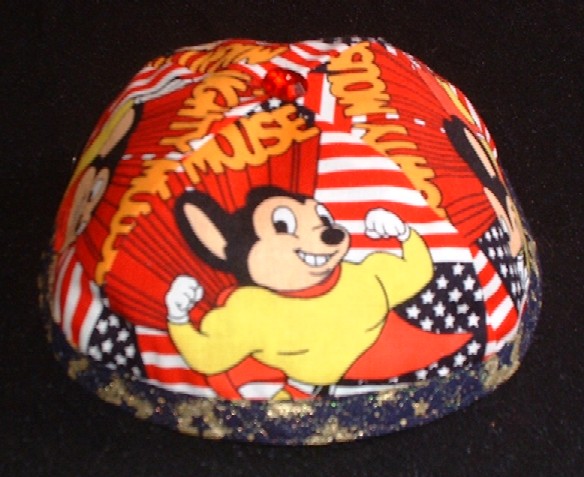
Ideal for Maccabee wannabees..
|
|
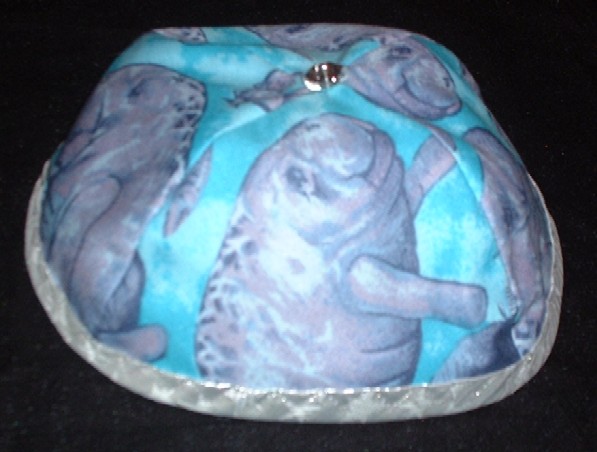
Maccabee, Mannatee, kinda similar, right? |
|

Tools. Note nut on top (if not underneath).
A 'mitzvah day' hit. |
| |
|
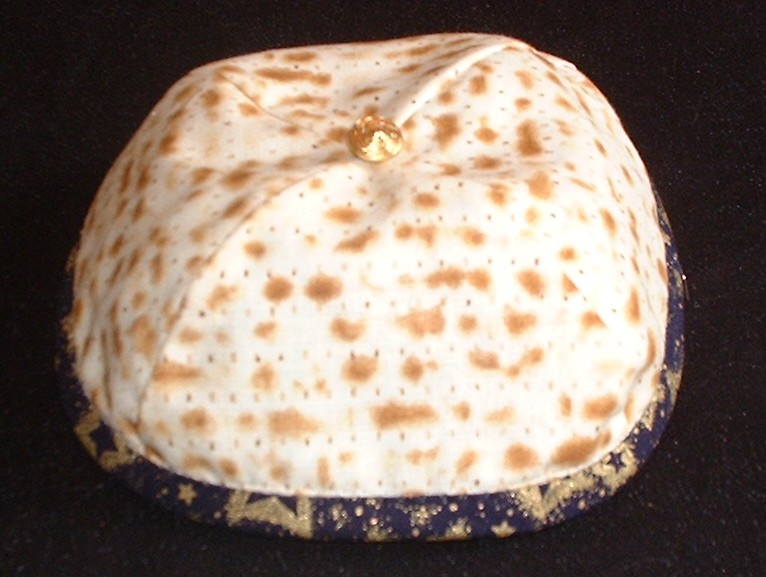
Be the first one at your seder to wear your matzoh on your head.
Where I buy this fabric. |
|
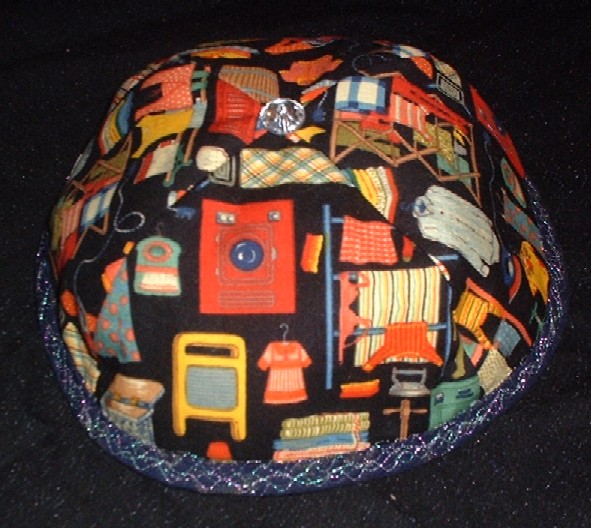
Laundry Kippah. For soul-cleansing occasions. |
|
|
|
|
|
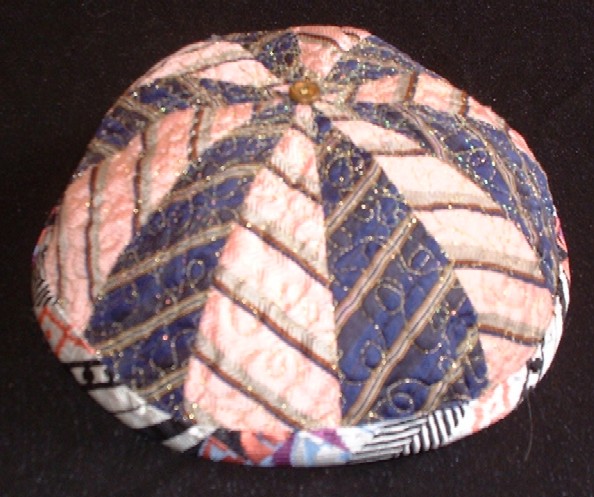
(Above) My challenge: Could I create a six pointed star on a four-sided kippah? My solution: This 'interlocked star' design, for which I designed foundation pieces.(This particular example is made from vintage neckties---see box, below right). I think it kinda looks like two Star Trek insignia embracing (Keeping in mind that Leonard Nimoy and William Shatner are Jewish....)
|
|
...And more! My quilting partner,
Sue, and I have made kippot out of
fabric that featured skateboards, dinosaurs, cell phones,
musical scores, seashells, dogs, cats, and, of course, my personal favorite, Elvis fabric! I do make custom kippot, on commission. I especially like to use family textiles. Email me for more information at
ajwcjp@aol.com . There is also a quilter who sells patterns for making kippot. (I haven't bought or tried her patterns, but the pictures look good.) (See
Resources, Jewish Quilt Patterns; Oy Vey Quilts).
|
|
|
|
|
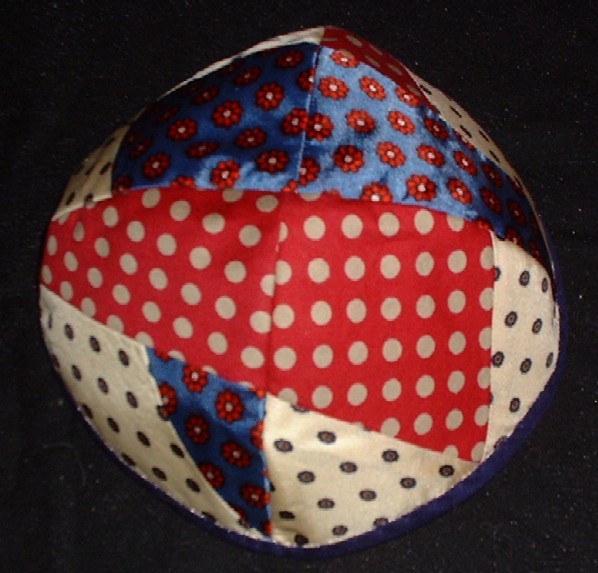
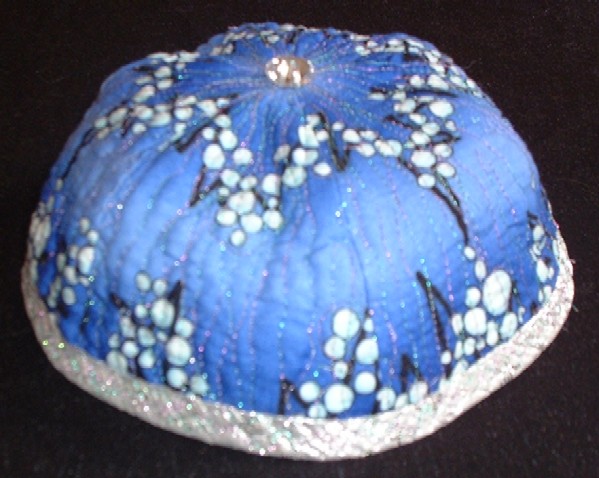
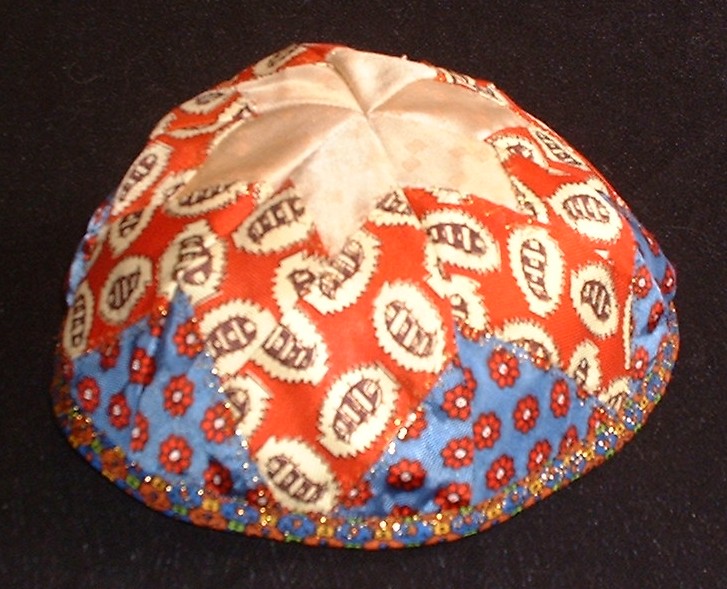
Six-Panel Kippot
Six-panel kippot take just a little more time, and they aren't necessarily any nicer than the four-sided variety----UNLESS you take advantage of the six-sided geometry. With the right print (one featuring a stripe or zig-zag), and careful placement of templates you can make a kippah with a Star of David emanating from the center. Cool, huh?! |
|
|
This fabric featured zig-zags of bubbles. I cut the six panels so the lowest point of a zig-zag is centered on each panel. Sew them together, and voila! a six pointed star. .This particular kippat was heavily quilted with metallic threads before assembly. |
 |
|
|
|
|
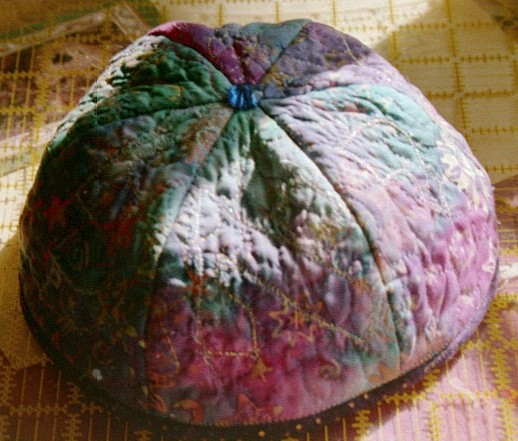
QUILTED KIPPOT |
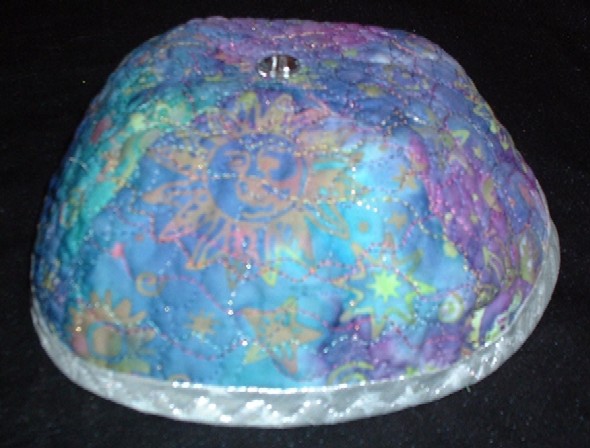 |
These two kippot are pieced from heavily
quilted batik cotton fabric. The kippah on the left has four sides; on
the right, six sides. On the right, the Hebrew letters of my son's
name are quilted into each panel.
|
 |
|
|
|
|
RIBBON KIPPOT |

Ribbon gets more interesting all the time.Quilters use beautiful
variagated ribbon to make flowers for their quilts. I discovered that glitzy
gift wrap ribbon (the kind they sell in craft stores, by the spool)
makes a great girl's barrette/kippah. (Most of the girls at my son's Jewish
day school refuse to wear conventional kippot). This is a great hot
glue gun project, though you can sew them, too.
Directions: Cut about 20' of ribbon (more or less, depending on how thick you want the folds). Gather the ribbon along one side, using either the wire that's in it (be sure to hold or bend the other end of the wire, so you don't pull it out), or by sewing a running stitch along one edge with strong thread. Pull taut, and evenly space the ridges so it makes an attractive flower, and secure the thread with a knot (or tie the wire ends together). A hole in the center is OK. Neatly sew the two ribbon ends together from the back, so cut edges are pointing down, and secure the cut edge with a few drops of 'Fray Check,' so the ribbons don't ravel. (Trim neatly once the Fray Check dries.)
Next, choose a decorative center---it can be a button, or a fabric circle (above, I made the centers by cutting circles from commerical fabrics which featured 6-pointed stars, then sewing the circles, right sides together, to a backing fabric; slitting the backing fabric, turning and pressing right sides out. Finally, I covered the slit by gluing to a slightly smaller white felt circle to the back). Glue or sew the center onto the upward ridges of the ribbon flower.
Finally, sew or hot glue a barrette to the back. You're done! (Except maybe for sequins, glitter,
beads, rhinestones, etc.).
|
|
NECKTIE KIPPOT
...and other keepsakes from vintage
ties.... |
 |
(Left) Fabric from two striped neckties was
paper- pieced onto six sections, then heavily quilted.
(Right) Fabric from three neckties was foundation- pieced
(my own partern) to
form a six-pointed star. |
 |
|
|
Why NECKTIES? (ALSO: HOW!)
Neckties are wonderful for making kippot as well as other Judaica---like a tallit case (see below), challah cover, even a huppa. If you use family neckties, you'll be creating a precious keepsake. If you use a stranger's neckties, you'll play with a lot of really intense fabric. Either way, you can't lose!
Long before I started making kippot, I was enthralled by a book on necktie quilting, Shirley Botsford's 'Daddies Ties' (Chilton), which is still in print. Botsford provides comprehensive information about preparing and using ties for quilts and garments. I've adapted her techniques, and added some of my own. Here's how I prepare neckties for a new incarnation:
1. Place ties, whole and uncut in the washing machine. Wash on gentle, slow, warm water with mild detergent.
2. Disassemble each tie carefully, using a seam ripper. Discard the cheesecloth lining fabric. Save the labels as potential embellishment. 3. Press tie fabric thoroughly. If it is silk or another very thin material, use spray starch. (Botsford suggests backing the ties with fusible interfacing. That has worked for me, but spray starch is quicker and seems to work just as well). I like to foundation piece my necktie fabrics to a muslin backing. Several of the kippot on this page are made this way, using one of several foundation pattern I designed that create a star pattern when the pieces (either four or six) are put together.
|
|

Necktie Tallis Case, pieced from vintage ties, including a deeply
aesthetically-challenged burgundy-pink-and-gold 70s era striped tie that
was made in Israel. |
|
|
|
|
|
|